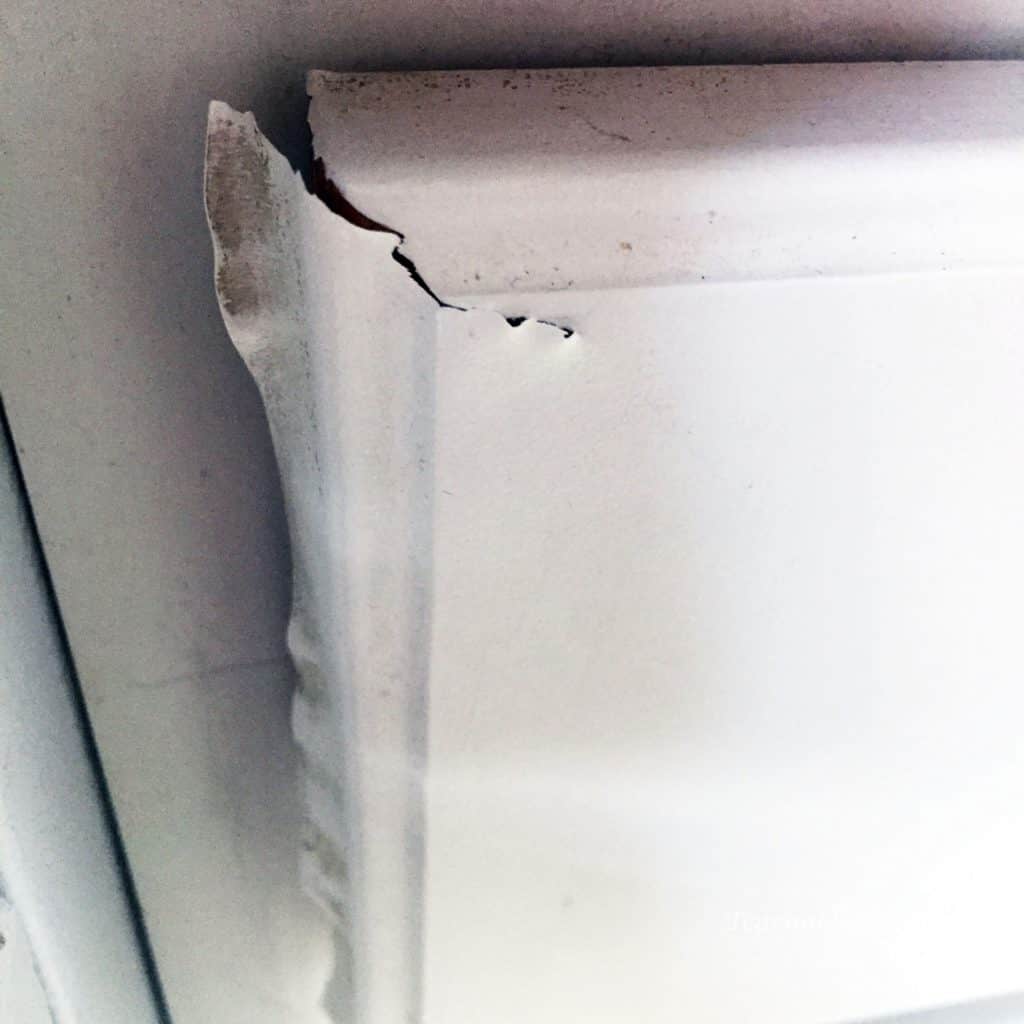
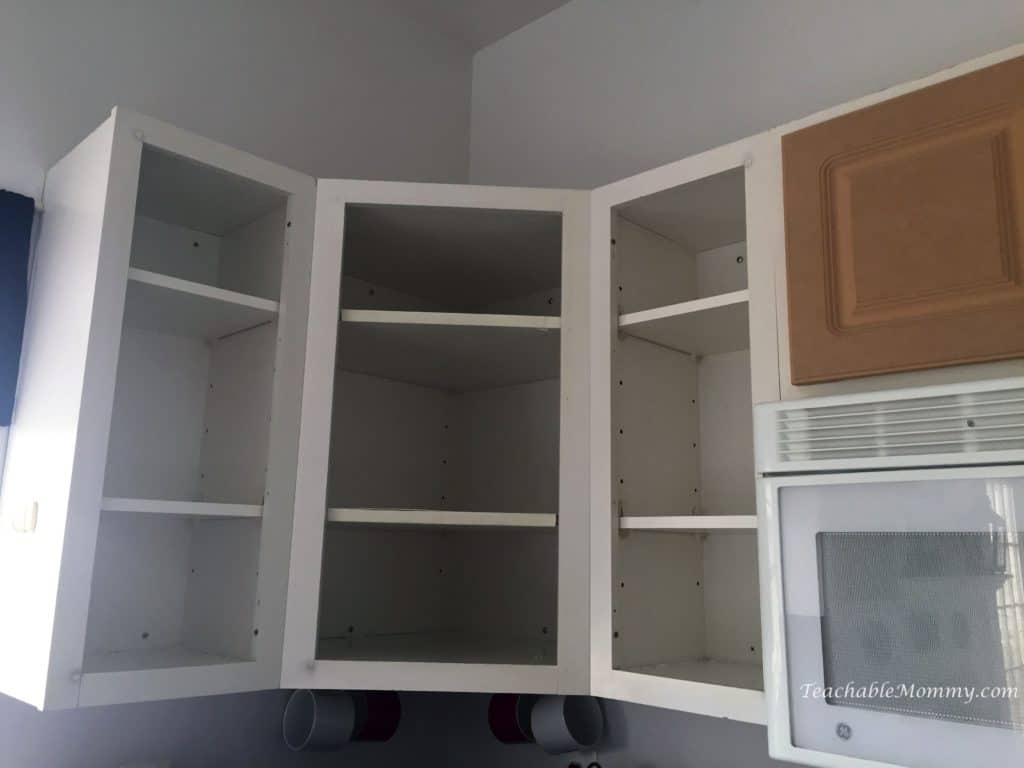
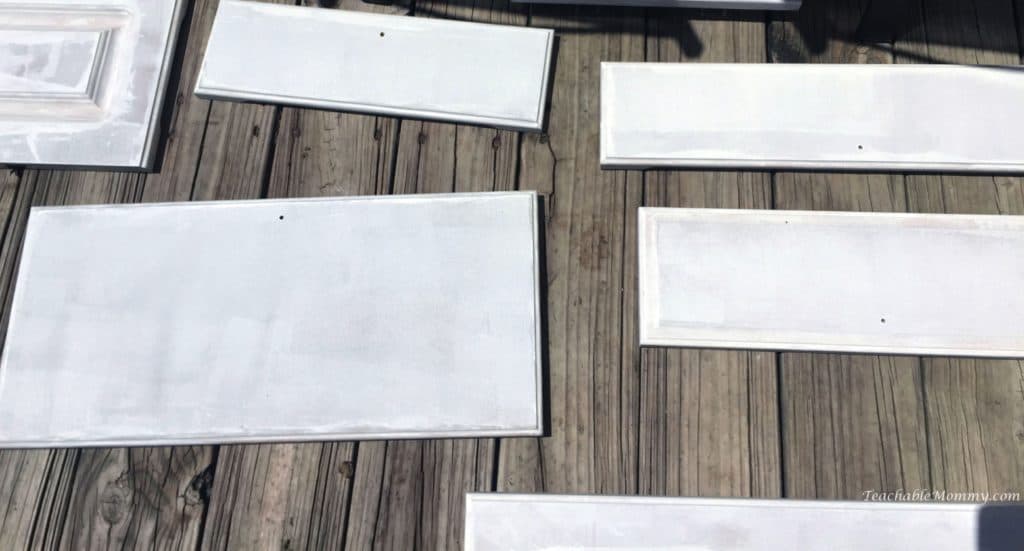
A few months ago I noticed my kitchen cabinets started to crack and peel away. Crack and peel away?! I had NEVER seen this happen before. These cabinets were covered in laminate. LAMINATE. I know that might not be shocking to some, but to me it was bizarre. After getting frustrated with how they were looking I tore off all the laminate and was left with these odd feeling, sawdust looking doors.
DIY Kitchen Cabinet Remodel
Technically they are MDF- medium density fiberboard doors. These cabinets are on the cheaper side of the kitchen world. Naturally, that is what the builders decided to use in this house. Thanks guys. There was no way I wanted more laminate and forking over the dough required to upgrade the cabinetry was out of the question. I asked my old pal Google if it was possible to paint MDF cabinets. Sure enough it is possible. As long as you are mindful of the fact they are very porous.
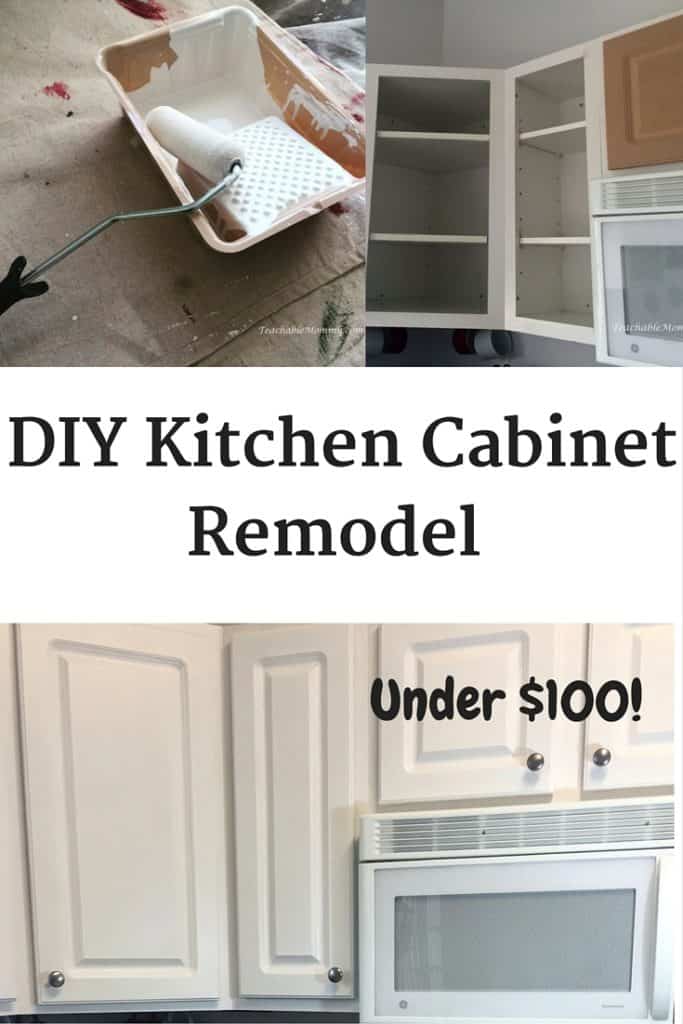
This DIY Kitchen Cabinet Remodel is an easy way to spruce up your kitchen. With a little elbow grease, a helpful friend, and husband to help clean, you can save yourself a lot of money. This whole project cost under $100!
Materials Needed:
- 120 Grit Sandpaper
- 2 Small Roller Handles (if you are doing this solo, just one)
- 4 inch Foam Rollers
- 2 Medium 2 inch Foam Brushes (available on Amazon but I don't think you need 48)
- Oil Based Primer
- 1 Gallon Satin Paint
- TSP Substitute Cleaner
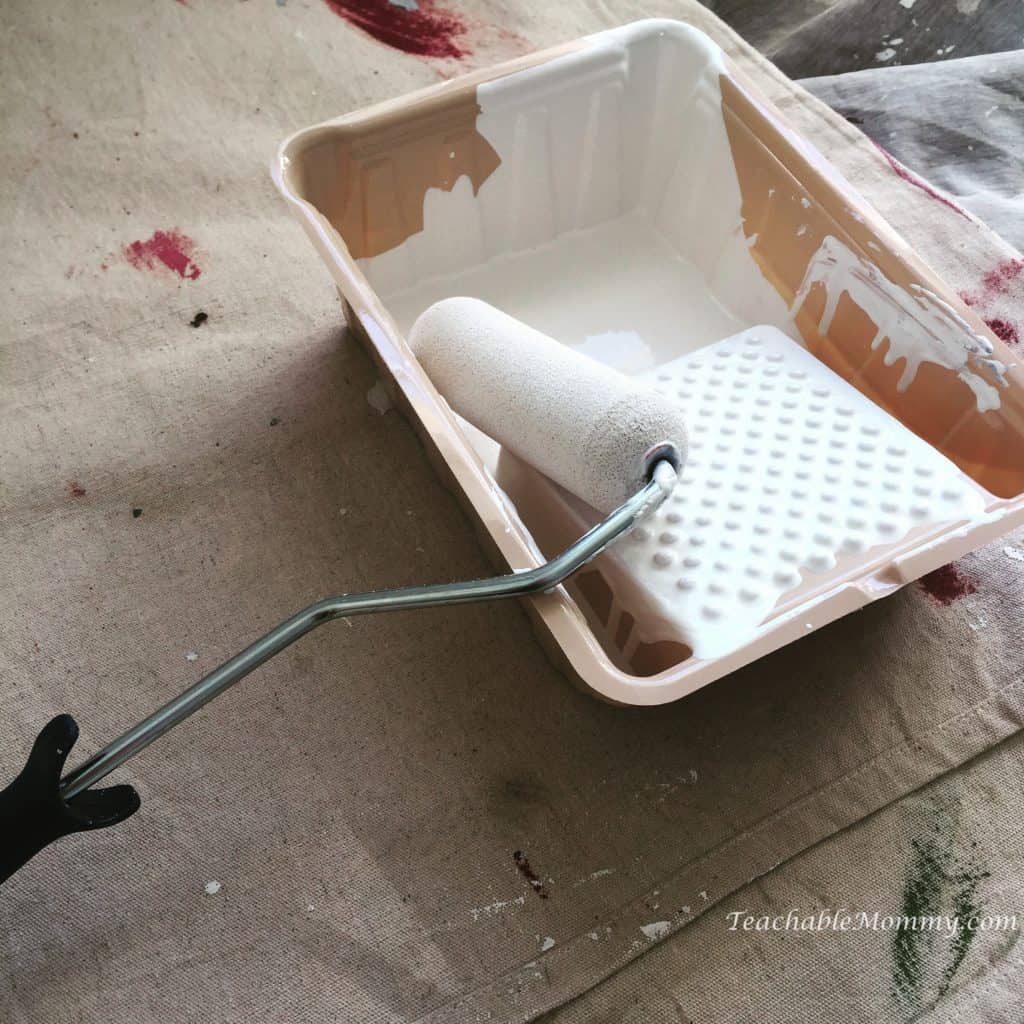
- Paint Tray
- Painter's Tape
- Drop cloths or old sheets
- An awesome Husband*
- An equally awesome Friend*
*not available in stores. Sorry!
DIY Kitchen Cabinet Remodel: How to Reface Laminate Cabinets
Step 1: Peel off the laminate.
This wasn't that difficult since most had dry rotted and began to flake away. The others only required a little pressure on the seams with a flathead screwdriver.
Step 2: Empty out the Cabinets and clean inside them.
Also clean the outside. We used the TSP substitute cleaner to get the grime off.
Note: Do not use this on the pressed cardboard cabinet doors. They are porous.
Step 3: Remove Doors and Doorknobs
Step 4: Tape off the cabinets and sand the surfaces.
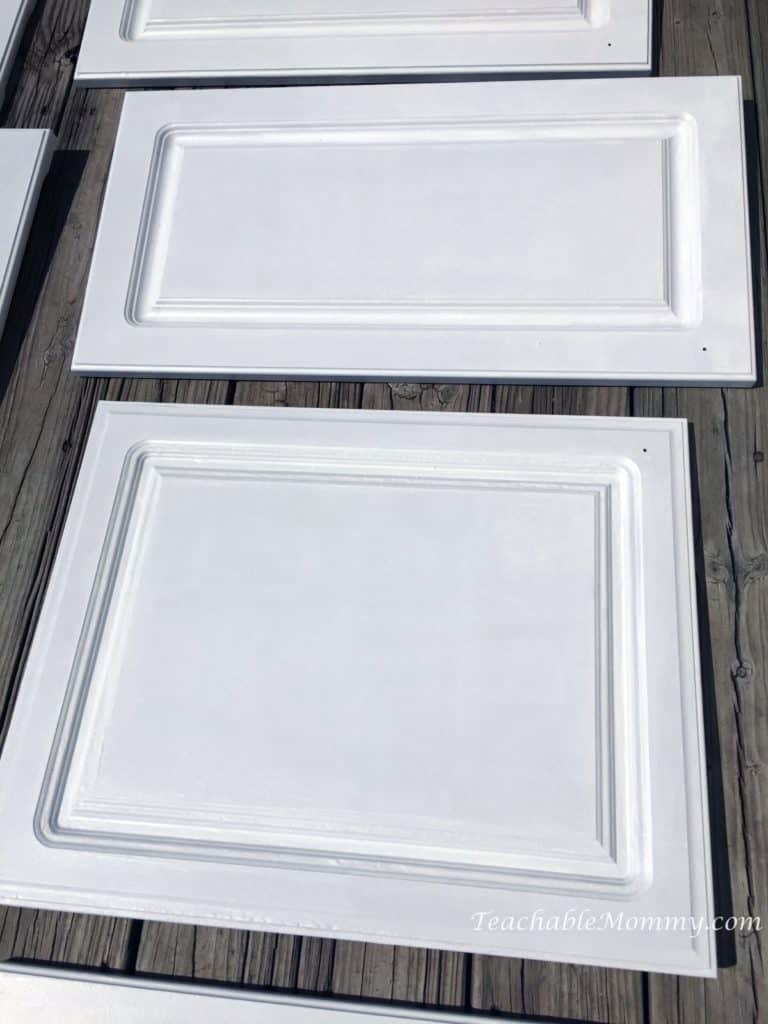
Step 5: Prime using an oil based primer.
This dries pretty quickly. We applied 2 coats total.
Step 6: Paint the cabinets with the white satin gloss.
We ended up doing 2 coats. Since paint takes longer to dry than primer, we painted one coat Tuesday and the second coat on Wednesday.
Note: The first coat of paint should be thinly applied. Do not cake it on.
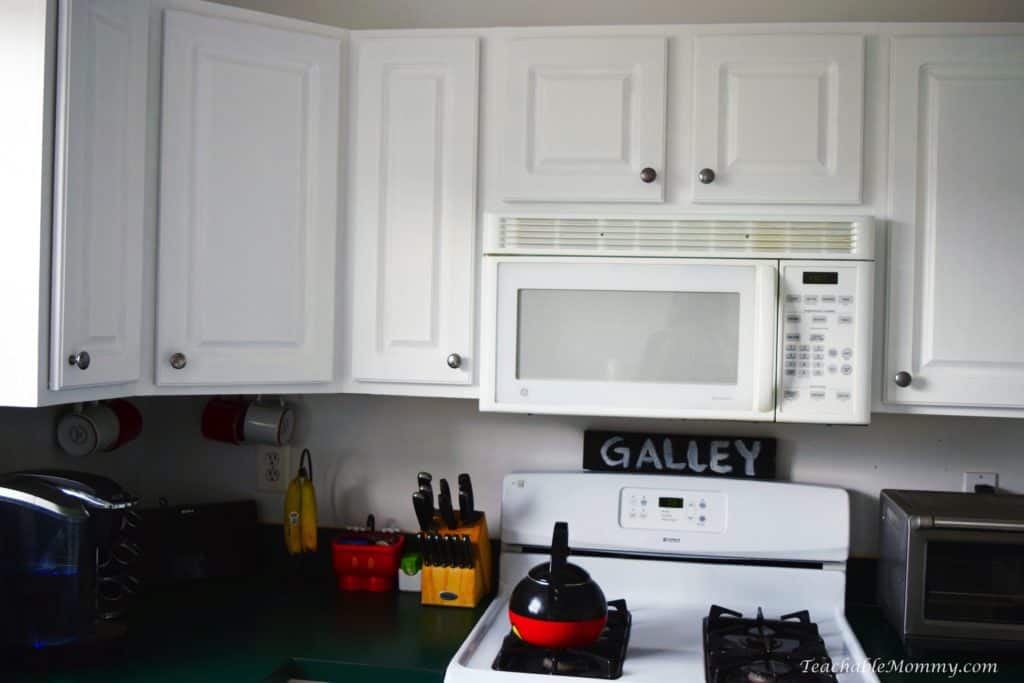
Step 7: Rehang doors, add knobs, and enjoy your beautiful new cabinets!
Next up are those green laminate countertops. I've never been a fan of them. I have a feeling I will have to pay someone to do those!
What household project are you tackling this Summer?
*this post contains affiliate links.
